



Disclosure: This post may contain affiliate links. If you buy through them, we may earn a small commission at no extra cost to you. We only recommend products we would genuinely consider using.
Few things are more annoying than a shoe that will not stay on your heel. Every step feels like a tiny escape attempt, your heel lifts out, and by the end of the day you may have blisters, sore ankles and a lot of frustration. The good news is that you do not have to throw those shoes away. A pair of heel grips is a simple, inexpensive fix that works for sneakers, loafers, boots, flats and even high heels.
In this guide you will learn why shoes slip, how heel grips work, which type suits your shoes, and exactly how to apply them step by step.
Table of Contents
- Why Do Shoes Slip at the Heel?
- What Are Heel Grips and How Do They Work?
- Types of Heel Grips
- Where to Place Heel Grips
- How to Apply Heel Grips Step by Step
- Common Mistakes to Avoid
- What to Look for Before You Buy
- Other Ways to Stop Heel Slippage
- Frequently Asked Questions
Why Do Shoes Slip at the Heel?
Before fixing the problem, it helps to understand the cause. Heel slippage usually comes from one or more of these:
- Shoes that are slightly too big. Extra space in the heel cup lets your foot move up and down while you walk.
- A heel shape mismatch. Some people have narrower heels than the shoe is designed for, even when the length is right.
- Stiff or new materials. New leather and rigid heel counters may not mold to your foot until they are broken in.
- Worn-out insoles or linings. Smooth, compressed linings lose their grip over time.
- Smooth interior surfaces. Many dress shoes and heels have slick linings that offer little friction.
Heel grips target the gap at the back of the shoe, which is exactly where slippage happens.
What Are Heel Grips and How Do They Work?
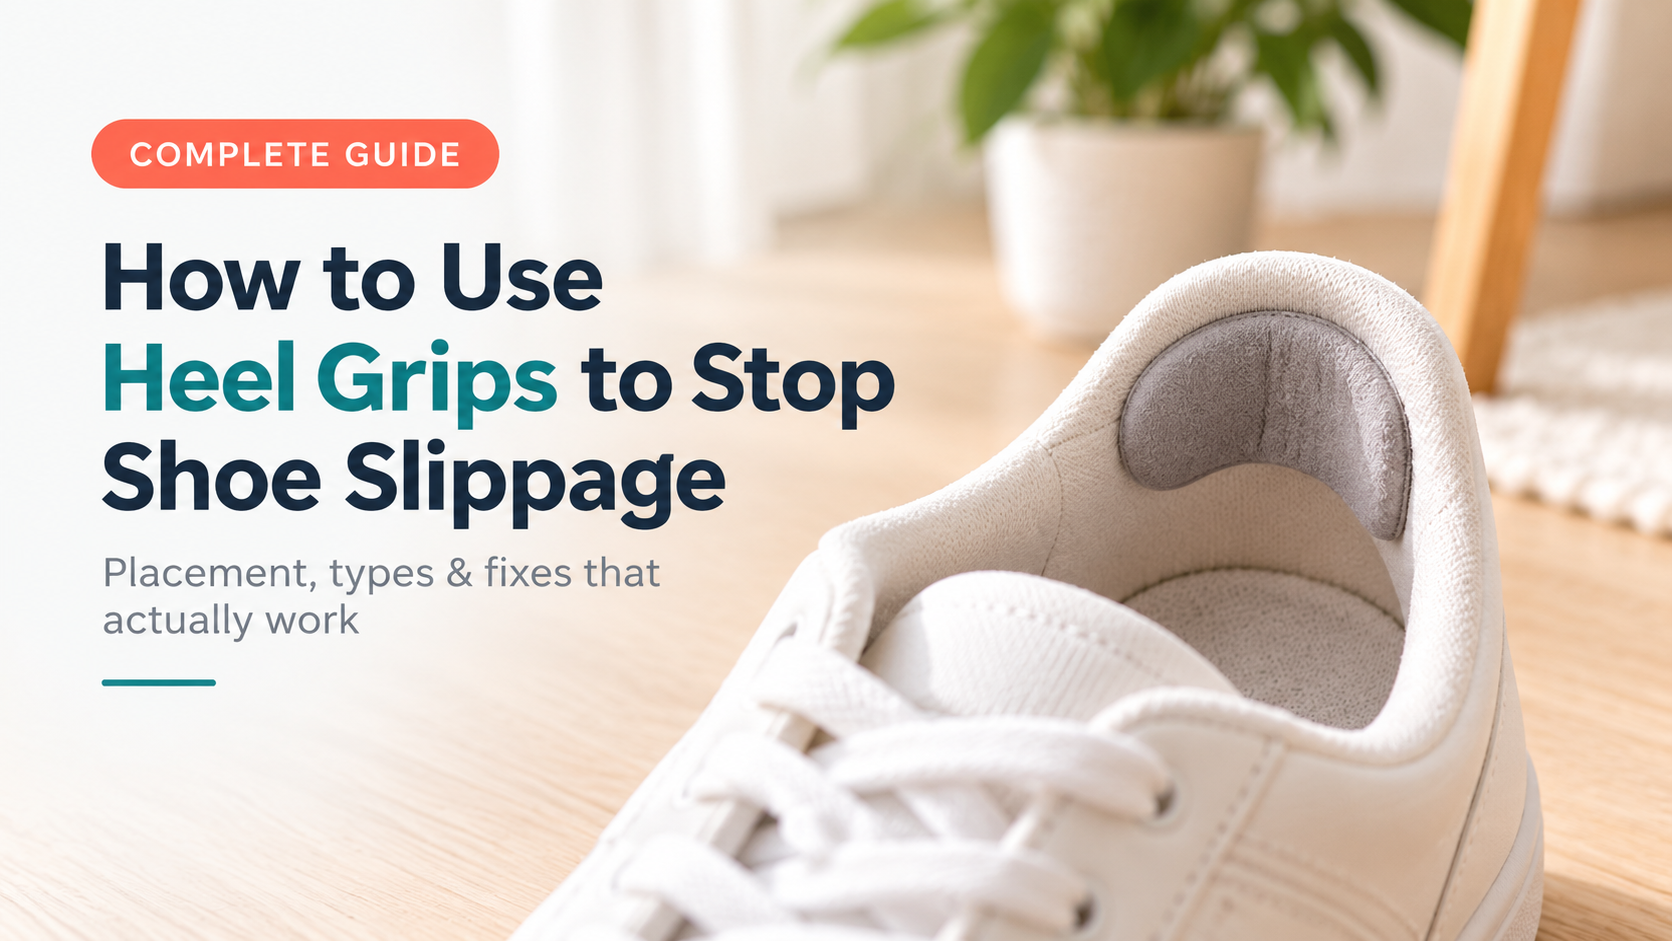
Heel grips (also called heel liners, heel cushions or heel pads) are thin, adhesive-backed pads that stick to the inside back of your shoe. They do two jobs at once:
- They fill the gap between your heel and the shoe, so your foot is held more securely.
- They add friction and cushioning, which reduces rubbing, helps prevent blisters and keeps your heel from sliding up and out.
They are low-profile, so they usually will not change how the shoe feels at the toe or arch.
Types of Heel Grips

1. Foam or cushion heel grips
Soft, light and usually the most affordable option. They add gentle cushioning and a little grip. A good starting point for everyday sneakers, loafers and casual shoes.
2. Gel heel grips
Gel pads are flexible and absorb impact, which makes them comfortable for long walking days. They can work well in flats and heels, although some thick gel pads may feel bulky in snug shoes.
3. Leather or suede heel grips
These offer a premium look and a naturally grippy surface, and they tend to last longer than basic foam. They are a popular pick for dress shoes and boots.
4. Silicone or non-slip strips
Slim strips with a textured surface that grips the back of your heel. They are useful when you want minimal thickness, such as in open-back shoes and sandals.
Where to Place Heel Grips
Placement matters more than most people think. Put the grip too high and it can press on the Achilles tendon; too low and it will not stop the heel from lifting.

As a general rule, place the pad in the middle of the heel area, about 1 cm (roughly half an inch) below the top edge of the shoe. Adjust slightly after a test walk if it feels too high or too low.
How to Apply Heel Grips Step by Step

Step 1: Clean the inside of the shoe
Wipe the inner heel area with a dry cloth, or a slightly damp one if there is dust or oil. Let it dry completely. Adhesive sticks poorly to dirty or damp surfaces.
Step 2: Test the position first
Before peeling the backing, hold the grip against the inside heel to check its position. Slide your foot in with the pad held in place, if possible, to see how the heel sits.
Step 3: Peel and press
Remove the adhesive backing and place the pad centered at the heel. Press firmly from bottom to top, smoothing out wrinkles and air bubbles. Hold pressure for around 30 seconds.
Step 4: Give it a moment, then test
If the instructions allow, let the adhesive settle for a few minutes. Then put the shoe on, walk around the room, climb a few stairs and check whether your heel still lifts. If it does, you may need a thicker pad or a second one.
Step 5: Adjust if needed
If the pad is too high or off-center, gently peel it off while it is fresh and reposition it. Many pads can be moved once or twice, but this depends on the adhesive quality.
Common Mistakes to Avoid
- Applying to a dirty or damp surface. The pad will peel off within days.
- Placing it too high. This can rub the back of your ankle or Achilles area.
- Choosing a pad that is too thick. Your foot may be pushed forward, causing toe crowding.
- Skipping the test walk. A quick walk shows whether the fit really improved.
- Using grips to fix shoes that are far too large. If you are more than a half size off, a better-fitting size is the safer choice.
What to Look for Before You Buy
- Material: match it to your shoe type (see the comparison above).
- Thickness: thicker for large gaps, thinner for snug shoes.
- Adhesive quality: strong but removable is ideal, especially for leather shoes.
- Size and shape: a curved, contoured shape follows the heel better than a flat strip.
- Pack quantity: multi-pair packs often cost less per pair, and you will likely want grips for more than one pair of shoes.
- Skin sensitivity: if your skin is sensitive, look for soft, breathable materials.
Our Top Heel Grip Picks
[Add your affiliate product boxes here: product name, 2 to 3 key features, who it is best for, and your “Check Price” button link.]
Other Ways to Stop Heel Slippage
If heel grips alone are not enough, these options can help:
- Full or three-quarter insoles to take up overall volume in the shoe.
- Tongue pads to push the foot back and down into the shoe.
- Heel lock lacing (also called the runner’s loop), which tightens the fit around the ankle in lace-up shoes.
- Thicker or grippier socks for a snugger feel.
- A professional fit or cobbler adjustment for expensive shoes.
Frequently Asked Questions
Do heel grips really work?
For most people with mild heel slippage, yes. They reduce the gap and add friction, so the heel stays in place more securely. They are less effective when the shoe is the wrong size by a large margin.
Can I use heel grips in high heels?
Yes. Gel or leather grips are popular for pumps and heeled sandals. Choose a slim style so your foot does not slide forward onto the ball of the foot.
How long do heel grips last?
It depends on the material, how often you wear the shoes and how well the adhesive bonds. Many last for several weeks to a few months. Replace them when they flatten, peel or wear through.
Will heel grips damage my shoes?
Quality grips generally peel off cleanly, but strong adhesives can leave residue on some linings, especially delicate leather. Test in a hidden spot or choose a removable-adhesive option for expensive shoes.
Should I buy a smaller shoe size instead?
If the shoe is clearly too large in length or width, a smaller size is better. Heel grips are best for fine-tuning a fit that is almost right.
Can heel grips help with blisters?
They can reduce friction at the back of the heel, which is a common blister spot. If you have a persistent foot problem or pain, it is a good idea to speak to a podiatrist or healthcare professional.
Final Thoughts
Slipping shoes do not have to ruin your day or your wardrobe. With the right type of heel grips, correct placement and a quick test walk, you can turn loose, uncomfortable shoes into a pair you actually enjoy wearing. Start with an affordable pack, follow the steps above, and adjust until your heel feels secure.
Have you tried heel grips before? Share what worked for you in the comments below.